Cotton Rabbit Tutorial
Gather Materials
Cotton rabbits require a few supplies. Cotton balls, scissors, glue stick, pencil, and paper.
2: Draw the Rabbit
Draw a rabbit outline on paper with the pencil. Include ears, eyes, nose, and mouth.
3: Cut the Rabbit
Cut the paper bunny shape with scissors.
4: Glue Cotton
Glue cotton balls to the bunny shape with the glue stick. Start at the head and work down. Leave space between cotton balls for a fluffy look.
Add Details
After placing the cotton, draw the rabbit's eyes, nose, and mouth with the pencil.
Step 6: Dry
Display the rabbit after drying.
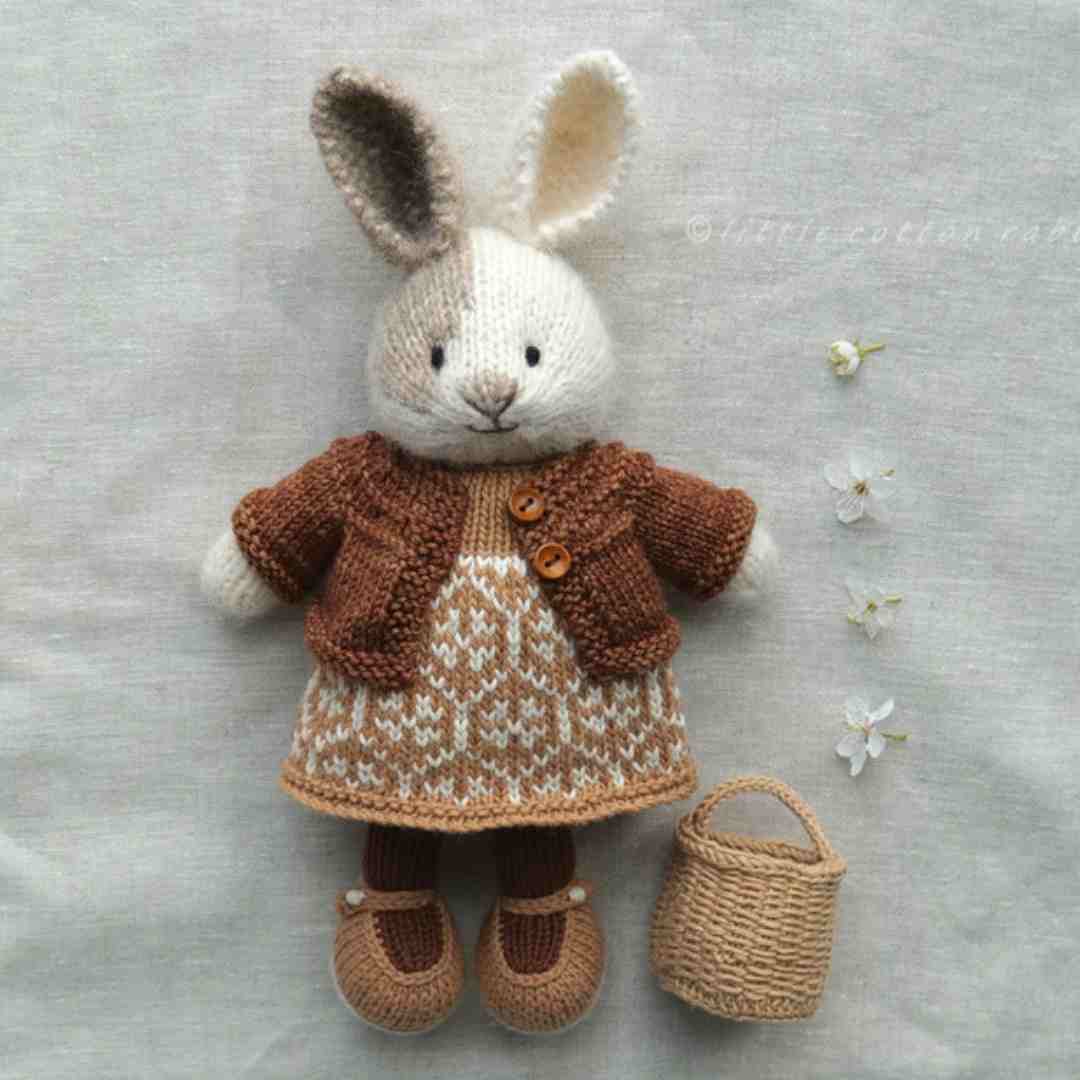
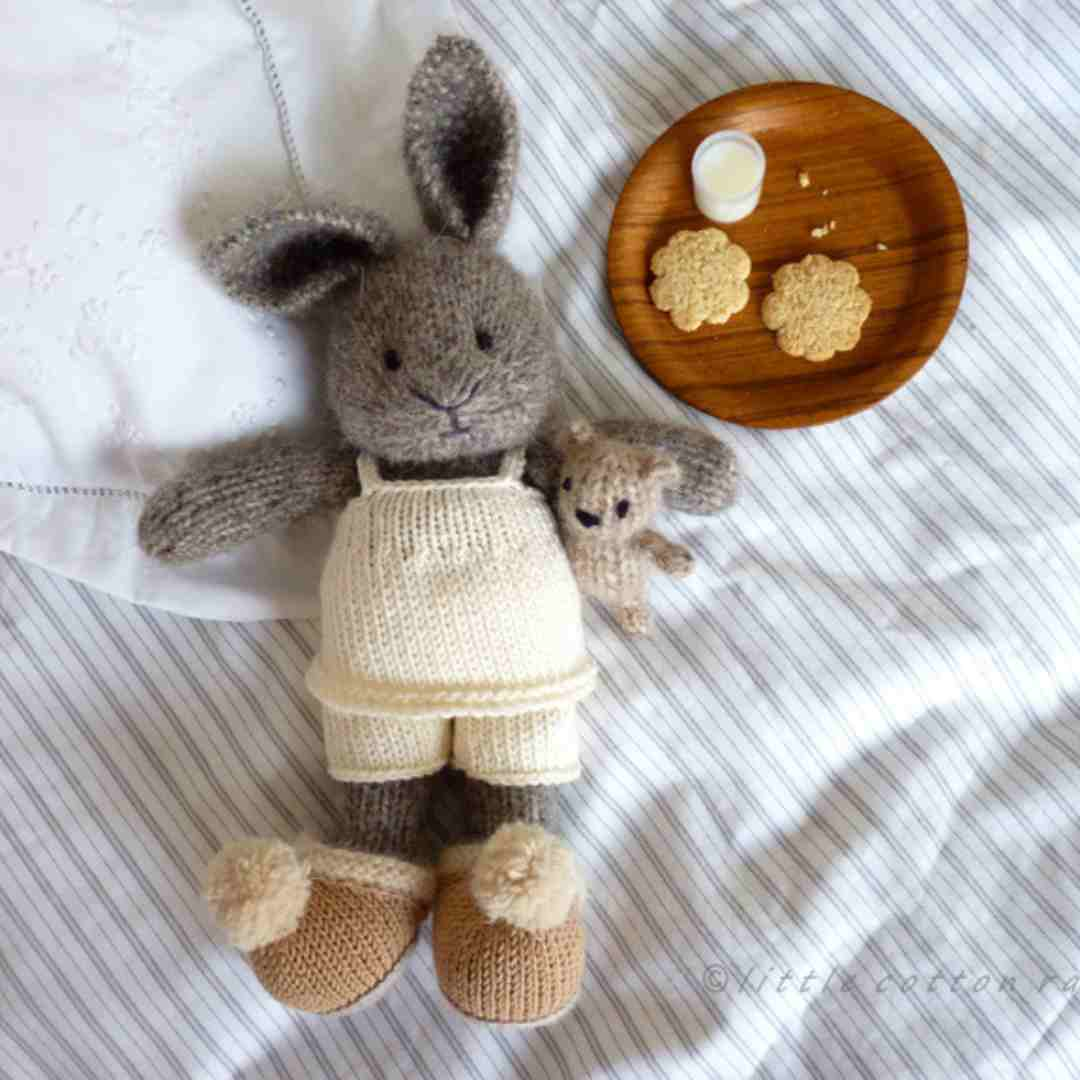
Completed bunny! Enjoy your cotton project.
Making a Cute Cotton Rabbit: Advice
Making a cotton rabbit is fun and fulfilling. With the correct supplies and perseverance, you may make a cute and distinctive plush animal that will brighten your home. Start with these tips and tricks.
Gather materials first. Cotton cloth, stuffing, needle, thread, and scissors are needed. Use felt or other textiles for the ears and eyes.
Next, make a bunny pattern. Create or find patterns online. Trace and cut your pattern on fabric.
After cutting your fabric, stitch it together. After stitching the body sections, add the ears and eyes. Allow for stuffing.
After sewing, stuff your rabbit. Stuff the rabbit with a spoon or hands. Stuff it tightly but not too tightly.
Finally, sew the opening shut to release your bunny! A ribbon or bow can make your rabbit cuter.
You can make a sweet cotton bunny with these tips. Enjoy it!
https://youtu.be/ZKUBKb4CXzw
Creative Cotton Rabbit Decorations
Decorating your cotton rabbit is a fun way to personalise your home. Starting points:
Fabric-paint your cotton rabbit. Make your bunny stand out with vibrant colours or patterns.
Glitter your rabbit. Glitter can be applied on rabbit fur with a glue gun.
3. Add buttons, beads, or sequins on your bunny. Decorate the rabbit using a needle and thread.
4. Customise your bunny using fabric patches. Create a unique style by mixing colours and patterns.
5. Make a yarn or ribbon hairdo for your rabbit. Hot glue can attach yarn or ribbon to the rabbit's fur.
6. Give your bunny a ribbon or scarf for a trendy look.
7. Make a fabric scrap rabbit bed.
These cotton rabbit decorating ideas are only a start. You can make your rabbit stand out with a little imagination.
Special Occasion Cotton Rabbit Making
A cotton bunny for a particular occasion shows you care. This craft requires minimal steps.
Gather materials first. Cotton batting, scissors, needle, thread, and stuffing are needed. For the ears, tail, eyes, and nose, you'll need felt, ribbon, and fabric paint.
Assemble the rabbit once you have all the materials. Cut a rabbit from cotton batting. Allow for ears, tail, and filling.
Next, sew on two felt ears. Cut a ribbon tail and sew it onto the bunny.
Stuff the bunny. Stuff the rabbit equally. Sew the bunny closed after stuffing.
Make the eyes and nose with fabric paint. Add any extra details with fabric paint.
After finishing the rabbit, you can gift it. Any party will love this cotton rabbit.

Personalised Cotton Rabbits
Adding a personalised cotton rabbit to your home decor is fun and imaginative. This project can be done by anyone in a few easy steps.
Gather supplies first. You'll need cotton fabric, scissors, needle & thread, filling, and any embellishments. Cotton is suitable for this job.
Cut the rabbit shape. Draw or utilise a pattern. Leave a seam allowance.
After cutting the shape, stitch the fabric together. Sew the pieces using a running stitch, leaving a little gap at the bottom.
Stuff the bunny. Stuff the rabbit with a spoon or fingers. Fill evenly and firmly.
Sew the bunny closed after stuffing. Whip or blanket stitches close the aperture.
Finally, decorate. Personalise your bunny with buttons, ribbons, or fabric paint.
Completed cotton bunny! This project can personalise your house decor.
