Installing RabbitMQ on CentOS 7: Step-by-Step
Installing RabbitMQ on CentOS 7 takes a few simple steps. Setup RabbitMQ on CentOS 7 with this method.
1. Update system packages. Run this command:
yum update
2. Install Erlang. RabbitMQ needs this. Run the command:
sudo yum install erlang
3. Install the RabbitMQ repository. Run this command:
sudo rpm –import https://www.rabbitmq.com/release-signing-key.asc
4. Install RabbitMQ server. Run this command:
rabbitmq-server install
5. Start RabbitMQ after installation. Run this command:
rabbitmq-server start
6. Finally, launch RabbitMQ automatically on system boot. Run this command:
systemctl rabbitmq-server
Congratulations! You installed RabbitMQ on CentOS 7.
CentOS 7 High-Availability RabbitMQ Configuration
Production systems need high availability. RabbitMQ is an open-source AMQP message broker. It facilitates application-system communication. CentOS 7 may configure RabbitMQ for high availability to send messages swiftly and reliably.
CentOS 7 RabbitMQ high availability configuration is covered in this article.
Prerequisites
Start with these:
• Two CentOS 7 servers with root access • Static IP addresses for each server • A domain name pointed to one server's IP address
Install RabbitMQ first.
Install RabbitMQ on both servers first. This requires installing the RabbitMQ repository.
To add the repository, run:
sudo rpm –import https://www.rabbitmq.com/release-signing-key.asc
Next, install the repository:
sudo yum install https://dl.bintray.com/rabbitmq/all/rabbitmq-server/3.7.x/rabbitmq-server-3.7.x-1.el7.noarch.rpm
Install RabbitMQ with this command after adding the repository:
rabbitmq-server install
2: Configure RabbitMQ
Installing RabbitMQ requires high availability configuration. Edit the RabbitMQ configuration file.
This command opens the configuration file in a text editor:
nano /etc/rabbitmq/rabbitmq.config
The configuration file needs these lines:
cluster_formation.peer_discovery_backend = rabbit_k8s
cluster_formation.k8s.hostname_prefix = rabbitmq
cluster_formation.k8s.hostname_suffix =.example.com
Replace example.com with your domain.
Save and close the file when done.
3: Start RabbitMQ
After configuring, run RabbitMQ on both servers:
rabbitmq-server start
Step 4: Cluster
After RabbitMQ starts, you can cluster. On one server, run the following command:
sudo rabbitmqctl join_cluster rabbit@hostname
Use the other server's hostname.
After creating the cluster, use this command to check its status:
rabbitmqctl cluster_status
Output should show both servers.
5: Enable High Availability
Finally, enable high availability. On one server, run the following command:
rabbitmqctl set_policy ha-all "^" '{"ha-mode":"all"}'
This ensures cluster-wide queue availability.
Conclusion
This guide will configure CentOS 7 RabbitMQ for high availability. Messages will arrive swiftly and reliably.
Common CentOS 7 RabbitMQ Installation Issues
RabbitMQ installation on CentOS 7 can be difficult and fraught with complications. This article covers typical concerns and their solutions.
1. Firewall Issues: Your firewall may be limiting RabbitMQ connections. Run "sudo firewall-cmd –list-all" to verify. “Sudo firewall-cmd –add-port=5672/tcp” will open RabbitMQ's port if it's blocked.
2. RabbitMQ requires a specific Erlang version. RabbitMQ fails if the wrong version is installed. "erl -version" checks Erlang version. "Yum install erlang" will update the version if it's wrong.
3. RabbitMQ Configuration Issues: If RabbitMQ is not operating, the configuration file may be wrong. Open "/etc/rabbitmq/rabbitmq.config" and verify the values.
4. Logging Issues: If RabbitMQ isn't working, the log files may be wrong. Open "/var/log/rabbitmq/rabbitmq.log" to verify that all messages are being written correctly.
These procedures should help you fix CentOS 7 RabbitMQ installation issues. If you need help, consult a specialist.
CentOS 7 RabbitMQ Security Tips
RabbitMQ is an open-source AMQP message broker. Enterprise messaging solutions employ it to connect applications and systems. Secure RabbitMQ to prevent malicious attacks and unauthorised access, as with any software. This paper covers CentOS 7 RabbitMQ security best practises.
To restrict RabbitMQ access, enable access control. Set up a user database and assign permissions. This restricts system access to authorised users.
2. Encrypt RabbitMQ-client connection with TLS/SSL. This prevents data theft during transmission.
Firewalls should restrict external network access to RabbitMQ. Preventing unauthorised access and malicious assaults.
Disable unused plugins to decrease RabbitMQ's attack surface. This prevents attackers from abusing unused plugin vulnerabilities.
5. Regularly check logs for questionable activities. This will assist identify and address security vulnerabilities.
These best practises can help organisations safeguard RabbitMQ from malicious attacks and unauthorised access.
CentOS 7 RabbitMQ Monitoring
RabbitMQ is an open-source AMQP message broker. It is popular in distributed systems for application and system communication. For optimal system performance, monitor RabbitMQ performance. This CentOS 7 RabbitMQ performance monitoring guide will help.
Install RabbitMQ Management Plugin first. This plugin monitors and manages RabbitMQ via a web interface. Run this command in a terminal to install the plugin:
rabbitmq_plugins enable
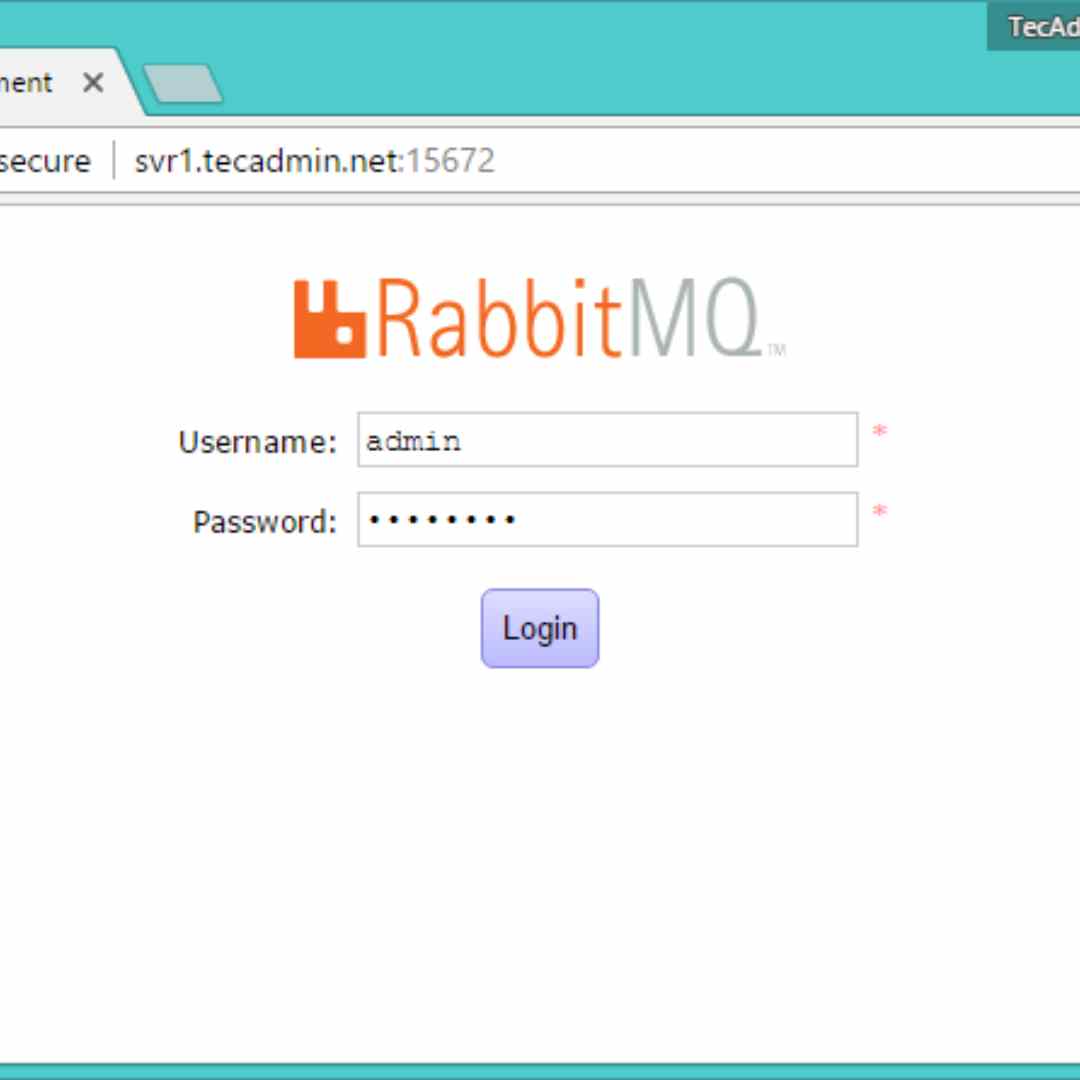
After installing the plugin, visit http://localhost:15672 to access the web UI. A username and password will be requested. "Guest" is the default login and password.
RabbitMQ Management Dashboard appears after login. This dashboard displays RabbitMQ server queues, messages, and connections. Each queue's message count, delivery rate, and consumption rate can be viewed.
The command line can also monitor RabbitMQ performance. Install the RabbitMQ Command Line Tool. This tool monitors and manages RabbitMQ. Run this command in a terminal to install the tool:
install rabbitmq-server-cli
The "rabbitmqctl" command displays RabbitMQ server information after installation. The "list_queues" and "list_connections" commands list all server queues and connections, respectively.
The RabbitMQ Management Plugin and Command Line Tool make CentOS 7 RabbitMQ performance monitoring easy. This will help you optimise your system and application communication.