Contents Table
Introduction
How to Make a Paper Rabbit
Make a 3D Paper Rabbit using Origami
Making a Paper Rabbit with Simple Supplies
Paper Rabbit from Recycled Materials
Kids' Paper Rabbit Crafts: Fun and Easy
Q&A
Conclusion
Introduction
Paper rabbits are easy to make and amusing for kids and adults. Use scrap paper to decorate or give as a gift. A lovely and cuddly paper bunny may be made quickly with a few supplies. We'll help you make a paper rabbit from cutting to assembling in this guide. With care and ingenuity, you can make a stunning paper rabbit quickly!
How to Make a Paper Rabbit
Step 1: Gather Materials
A paper rabbit requires white paper, scissors, a pencil, and a ruler.
Step 2: Draw rabbit
Draw a rectangle on paper with pencil and ruler. Rabbit body. Draw two ear circles on top of the rectangle.
Step 3: Rabbit Cutout
Carefully cut the rectangle and two circles using scissors.
Step 4: Fold Rabbit
Halve the rectangle lengthwise. Then fold both circles in half.
Step 5: Assemble rabbit
Place two circles on top of the unfolded rectangle. The rabbit's ears should be circles on top of the rectangle.
In Step 6, add details
Draw two eyes and a nose on the rabbit's face using the pencil. Draw whiskers and a mouth if wanted.
Step 7: Enjoy Rabbit
Your paper rabbit is done! It might be a toy or decoration.
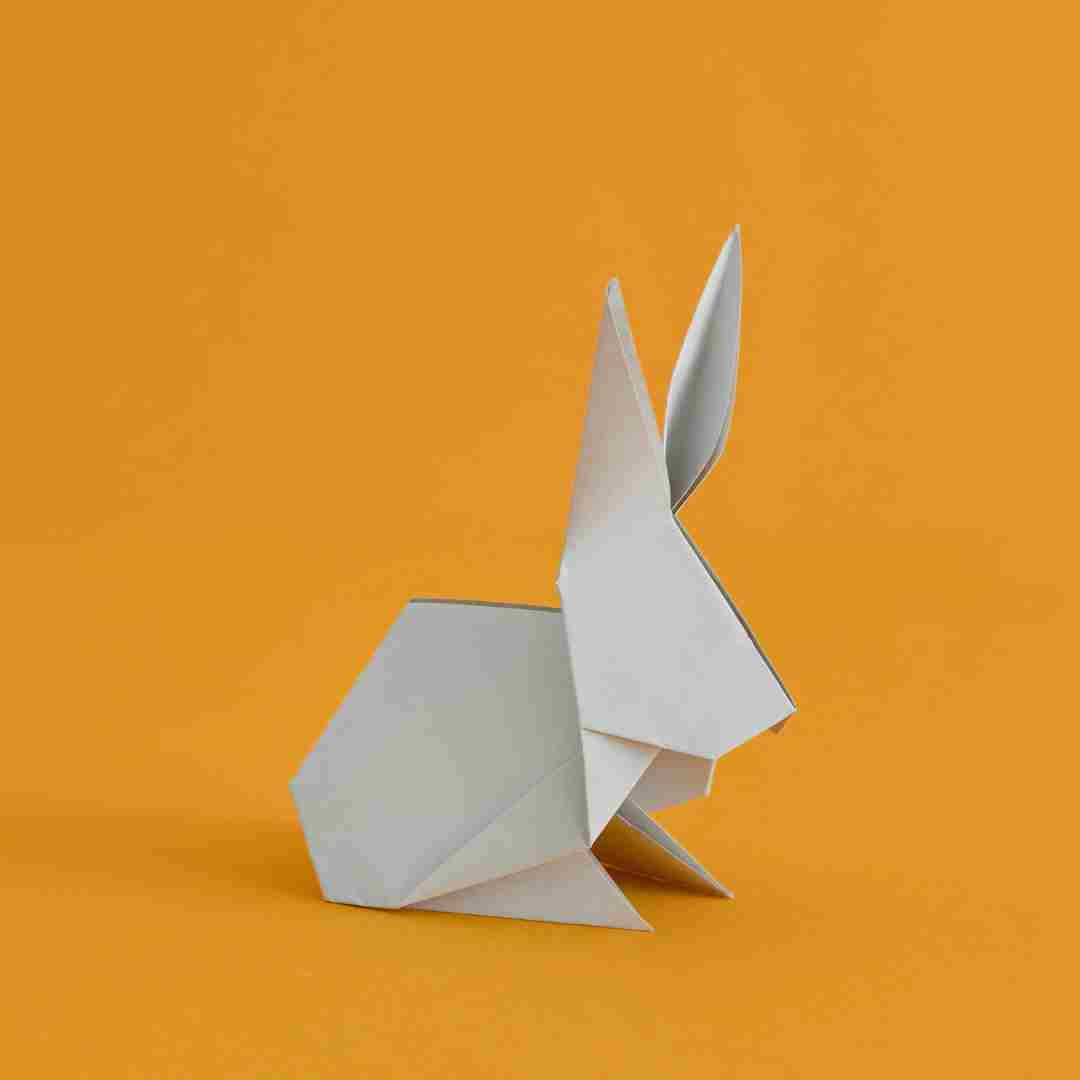
Make a 3D Paper Rabbit using Origami
Making a 3D paper bunny with origami is a fun and creative decoration or present. Origami, the Japanese art of paper folding, is fantastic for making 3D objects. Make a 3D paper bunny with a square sheet, scissors, and a ruler.
Create a triangle by folding the paper in half diagonally. Next, fold the triangle in half again to reduce it. Fold the triangle in half again to make it smaller. Unfold the triangle and cut the top corner, leaving a curve.
Fold the triangle in half again and cut off the top corner, leaving a curved edge. To make a curve, unfold the triangle and fold the sides inside. Rabbit body.
Fold the triangle's top down to make the rabbit's head. Fold the triangle bottom up to make the rabbit tail. Finally, fold the triangle's sides inside to make rabbit ears.
Your 3D paper rabbit is finished! Use it as a decoration or gift. Origami lets you make 3D objects. Have fun and create!
Making a Paper Rabbit with Simple Supplies
A paper bunny is a fun and easy craft to make using simple components. White paper, scissors, glue, and a black marker are needed to make a paper bunny.
Fold the paper in half lengthwise. After folding the paper, cut a bunny shape. Maintain the fold.
Draw two ears on top of the rabbit figure after unfolding the paper Eliminate ears.
Refold the bunny shape. Cut a little triangle from the rabbit shape's bottom for its tail.
Draw two eyes and a nose on the rabbit face after unfolding.
Attach the rabbit's ears and tail with glue. Let the glue dry before displaying your paper rabbit.
A colourful and unusual paper bunny may be made with a few simple items.
Paper Rabbit from Recycled Materials
Making a paper bunny from recycled materials is a creative way to reuse them. The simple instructions make this activity suited for all ages.
First, acquire project materials. You'll need paper, scissors, glue, and other supplies to decorate the bunny. The bunny could be coloured with markers, crayons, or coloured pencils.
After folding the paper in half, draw a rabbit on one side. Unfold the paper and cut the shape. Two identical bunny forms should result.
Leave a little hole at the bottom and glue the two forms. This will fill the bunny with recycled materials. Use newspaper, fabric scraps, or whatever items you have.
Stuff the rabbit and glue the opening. Time to decorate the bunny. Draw a rabbit's face and details with markers, crayons, or coloured pencils.
Your paper rabbit is finished! It might be a toy or decoration. This project recycles resources and is enjoyable.
Kids' Paper Rabbit Crafts: Fun and Easy
Making a paper rabbit with kids is a simple family project. It boosts creativity and fine motor skills in kids. Create a charming paper bunny to make your youngster happy with a few basic supplies.
Start with minimal supplies. You'll need white paper, scissors, glue, and coloured markers or crayons. Construction paper, coloured paper, or tissue paper can be used for the rabbit's body. Create your paper bunny after gathering your resources.
Start by drawing a huge oval on white paper. Rabbit body. Draw two smaller ear ovals. Cut and glue the shapes on the body.
Draw two circles for eyes and two little triangles for nose. Cut and glue the shapes to the face. Draw a mouth and whiskers if desired.
Finally, draw two little foot circles and two huge hand circles. Cut and glue the shapes on the body. You may draw body fur too.
After making your paper rabbit, decorate it using markers or crayons. Add glitter or sequins for sparkle.
Making a paper rabbit with kids is a simple family project. Create a charming paper bunny to make your youngster happy with a few basic supplies. So get your supplies and craft!
Q&A
1. What materials do I need for a paper rabbit?
– Need paper, scissors, glue, and pencil.
2. How do I create the paper rabbit? Draw the bunny outline on paper. Fold the form in half after cutting it.
3. How do I manufacture ears?
Cut two small paper triangles and attach them to the rabbit's head.
4. How to build eyes?
Cut two small paper circles and attach them to the rabbit's face.
5. How do I finish the paper rabbit?
Draw a snout and whiskers on the bunny after glueing its sides. You can also add a ribbon or collar.
Conclusion
Making a paper bunny is a simple and entertaining pastime for all ages. Create an adorable, cuddly rabbit that will make anyone happy with a few simple supplies. Make a paper rabbit by cutting the body and ears from construction paper. Attach the pieces with adhesive and add eyes, whiskers, and a nose. Finally, hang the bunny with a ribbon or cord. With some imagination and effort, you can build a cute paper bunny that will be treasured for years.